

by Stephanie Brooks
How to teach an approachable Picasso lesson to second graders?
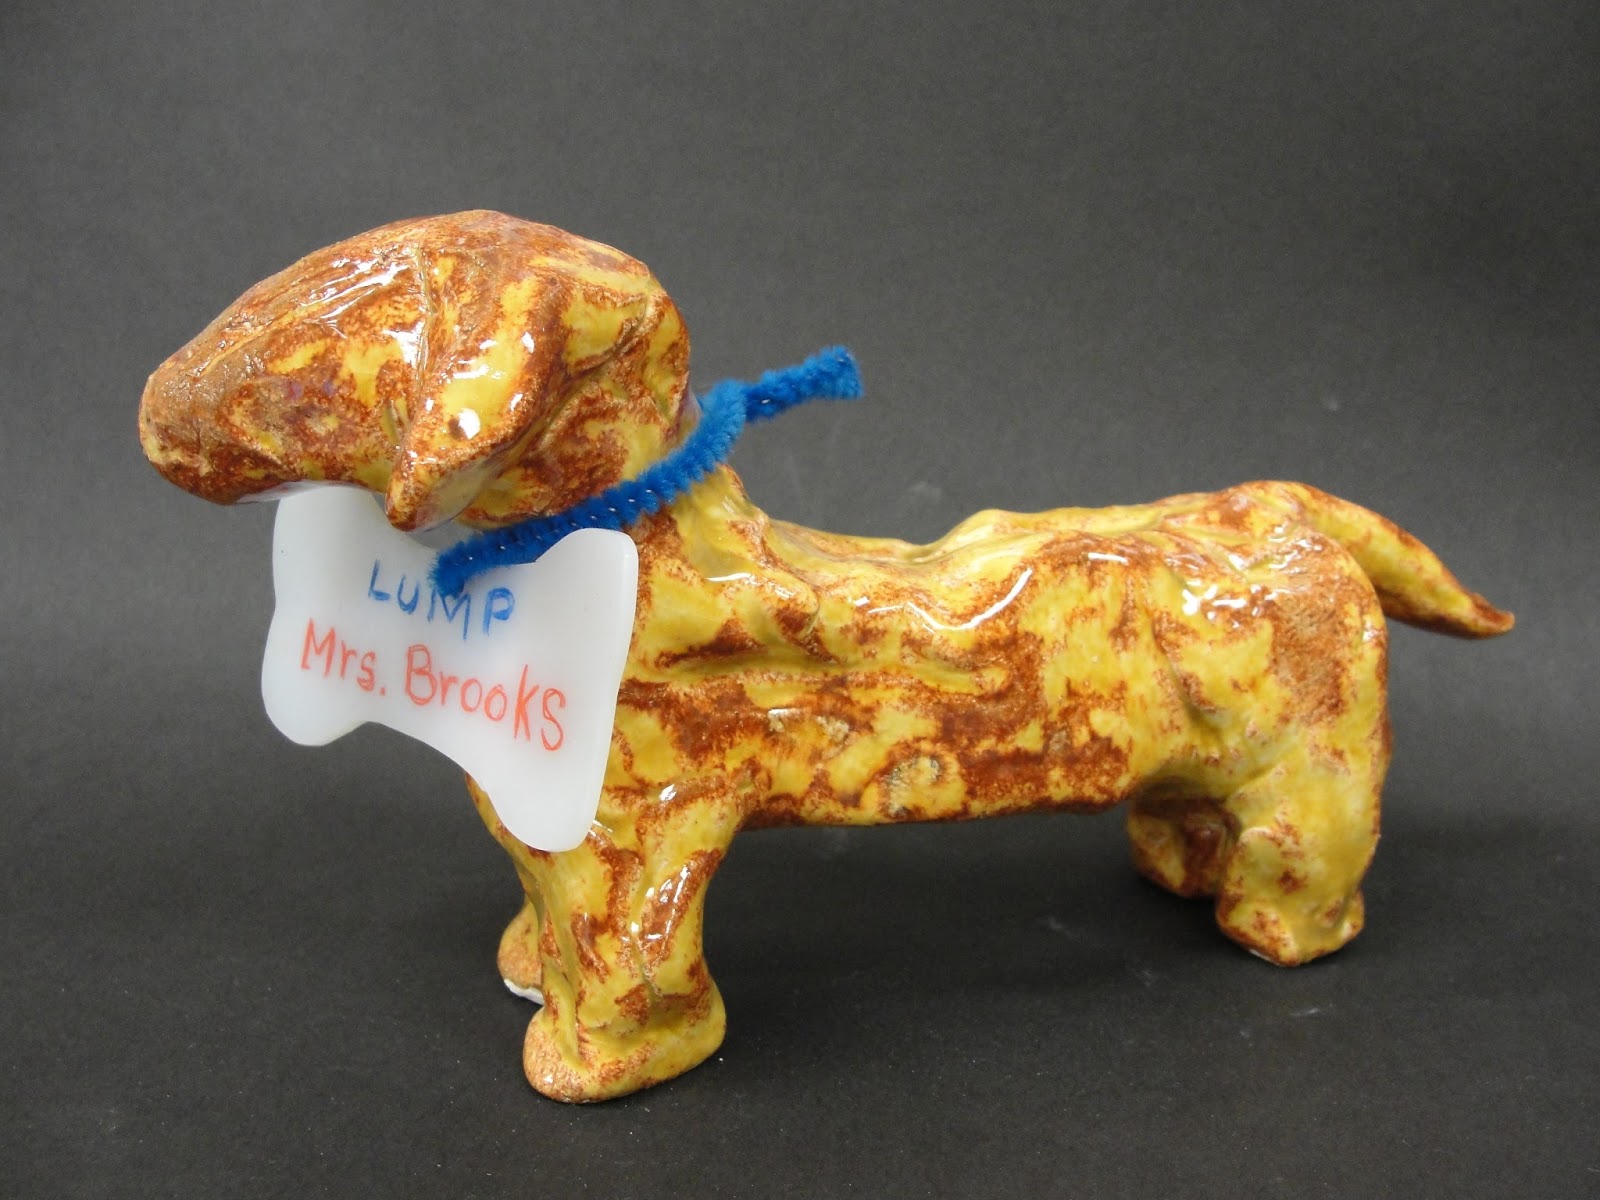
I knew that many Picasso images, specifically portraits, were not developmentally appropriate for my classes, so I had decided to put this artist on the back burner until I came across a gentler way to introduce him. When I opened a Christmas gift that year, I knew I had the answer to my Picasso dilemma. “Picasso & Lump: A Dachshund's Odyssey by David Duncan” relays the author’s story of his relationship with his dachshund Lump and within a detailed series of photographs, Lumps' subsequent adoption of Picasso. And yes, Lump insists on adopting Picasso after his first meeting, you will have to read the book to follow the fun story behind the images.


After finding a focus for the Picasso lesson and reading and learning about the artist, I needed to teach the students how to view the dog’s body in shapes. Lump is a dachshund and luckily this breeds legs are very short so the weight of the body and short stature would make for a stable clay figure. I transferred the shapes of the clay body into an easy drawing for this age. First we learned how to draw the rectangles and triangles that shape Lumps’ body then we proceeded to transfer that knowledge learned from drawing on paper into forming our clay.

To form a dog, each student started with a larger ball of clay and tore it in half. One half was formed into a solid rectangular prism and set to the side. The second half of the ball was separated into five equal pieces.

Four of the pieces were formed into small rectangular prisms for the legs. The legs were joined and smoothed so there was no visible seams. The last piece of clay was shaped into a ball and attached to the body without a neck. Once the head was securely attached and the dog sat upright, the nose was pulled out from the clay of the head so it resembled a pyramid with a rounded base (or a scoop of ice cream on a cone).

At this point, I discussed stability with the class. We reviewed how to identify whether their head and legs were attached securely. Each student held up their dogs and gave a light shake to make sure, with adjustments made if needed. With leftover bits of clay the students formed flat triangles and pressed them into the head for ears. Eyes were optional, simple holes were pressed into the clay with a wooden tool. The final touch was a small snake formed and pushed unto the rear end and shaped into a tail.
At this point, I discussed stability with the class. We reviewed how to identify whether their head and legs were attached securely. Each student held up their dogs and gave a light shake to make sure, with adjustments made if needed. With leftover bits of clay the students formed flat triangles and pressed them into the head for ears. Eyes were optional, simple holes were pressed into the clay with a wooden tool. The final touch was a small snake formed and pushed unto the rear end and shaped into a tail.
No comments:
Post a Comment